Your Cart is Empty


Brewing Methods
Coffee Standards
Freshness: Beans are at their peak freshness between 2 and 14 days after roasting. Coffee should be brewed and stored in a thermal carafe, never left on a hot surface, and consumed within an hour for peak flavor!
Storage: Moisture, air, heat and sunlight are all enemies of coffee. Store your beans in an airtight, opaque container in a cool, dark place. Never store your coffee in the refrigerator or freezer.
Water: Always use filtered water—water makes up 98% of coffee, so the better your quality of water, the better your cup of coffee. Your water temperature should be between 195 – 205F. If you don’t have a thermometer, we recommend allowing the water to sit 30 – 45 seconds after the boil prior to using.
Grind: Having the correct grind for your brewing method is essential to a quality cup. You can select the appropriate grind from the dropdown menu on our website. If you prefer whole bean coffee, we are happy to send a grind sample for use in calibrating your home grinder. Furthermore, ground coffee goes stale much faster than whole bean coffee, so make sure to grind only what you need right before brewing.
Brewing Methods
Auto-Drip
Equipment needed:
- Drip brewer/machine
- Filter
- Burr grinder
- Digital kitchen scale (recommended)
- 14 tablespoons (70g) freshly ground coffee
Steps for success:
- Preheat your carafe with hot water. Discard water.
- Rinse your filter with water to eliminate any paper taste. Place filter into the brew basket.
- Fill water reservoir with fresh, filtered water.
- Use the golden ratio of 2 tablespoons (10g) of coffee per 6 oz of water. Adjust ratio to your personal taste preference if necessary.
- Place your grounds into the filter evenly.
- Close the brewer and turn it on.
ENJOY!
PRO-TIP> Most home auto drip brewers will never reach the recommended 195-205F temperature required to get a proper extraction. Colder water will result in flat, under-extracted coffee, while water that is too hot will also cause a loss of quality in the taste of the coffee,resulting in an undesirable cup—for a list of home brewers that are certified by the Specialty Coffee Association, click HERE. While they can be pricey, we have loved our Moccamaster for well over a decade, now!
https://sca.coffee/certified-home-brewer?page=cert2
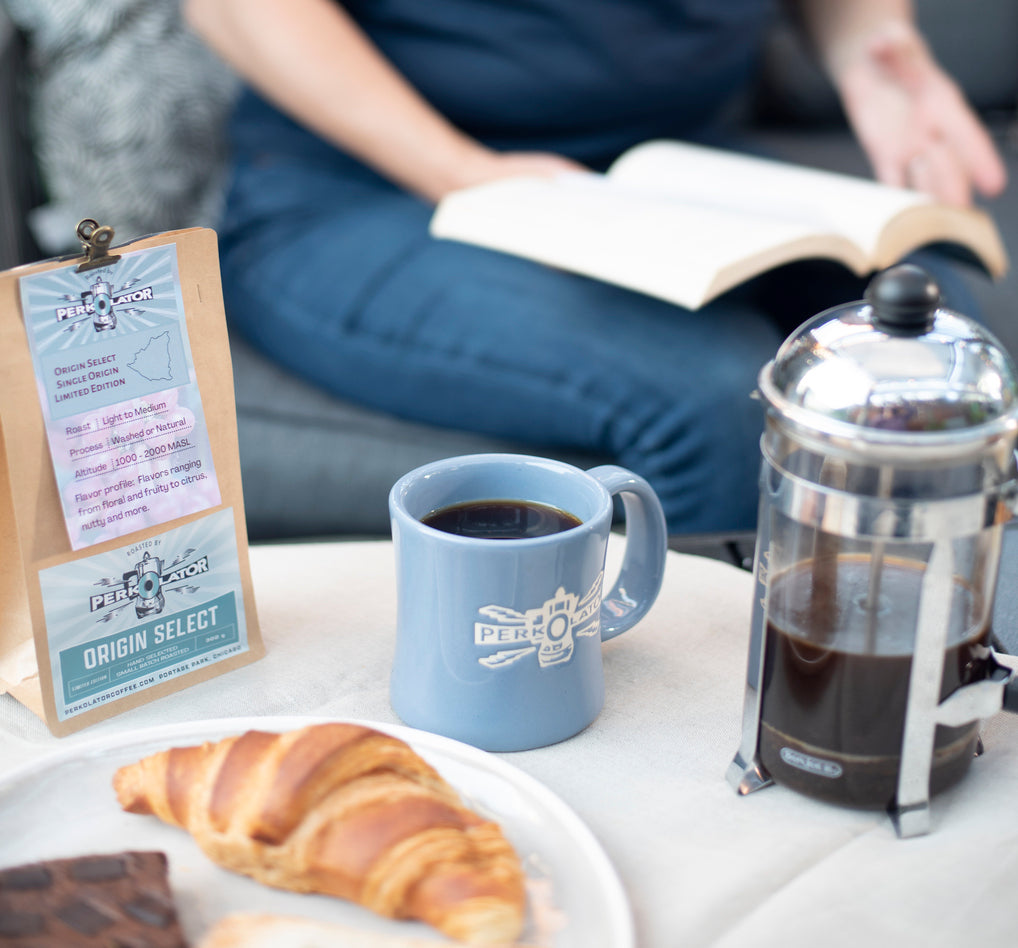
French Press
Equipment needed:
- 8 cup French Press brewer
- Burr Grinder
- 56g (8 Tablespoons) of fresh coffee
- Hot water just off the boil (about 205°F)
- Wooden spoon or coffee paddle
- Digital Kitchen Scale (recommended)
- Timer
Steps for success:
- Preheat your French Press with hot water. Discard water.
- Measure out 56g (about 8 Tablespoons) of coffee and grind it coarse.
- Place ground coffee into the empty press. Start your timer as soon as you begin to pour hot water. Fill it up halfway, making sure to saturate all the grounds, leaving no pockets of dry coffee.
- At the one-minute mark, use a wooden spoon or spatula to break the top layer, called the crust. Stir well. The use of wood and not metal helps to ensure that you don’t accidentally break your glass press.
- Fill with water and place the lid on, but do not yet press the plunger down.
- At the 4 minute mark, you are ready to press the plunger all the way down.
ENJOY!
Chemex/Pourover
Equipment needed:
- Pourover style brewer (Chemex, Hario V60, etc)
- Filter
- Goose-neck kettle
- Burr Grinder
- Digital Kitchen scale (recommended)
- 1:16 ratio of coffee to water (11oz: 21g coffee, 335g water. 22 oz: 42g coffee and 670g water)
Steps for success:
- Place the filter with the layered side facing the pour spout.
- Rinse your filter and pre-heat your device by pouring hot water into it. Discard water.
- Grind your coffee on an auto-drip or flat-bottom setting.
- Using your scale and the 1:16 ratio, weigh the coffee.
- Place the ground coffee into the carafe and tare your scale to zero it out.
- Start your timer, and pour twice the amount (in grams) of water onto your dry grounds, saturating them entirely and allowing them to “bloom” for approx. 45 seconds.
- At 45 seconds, begin the second pour using a back and forth motion, adding about 100g of water per pour, slowly turning into a gentle spiral until the volume reaches about a half inch down from the top of the vessel. Aim for the dark spots and avoid the lighter ones.
- Your total brew time should be about 4 minutes.
ENJOY!
Cold Brew
Equipment needed:
- Jar, Pitcher or Bucket
- Metal coffee filter or mesh strainer
- Burr grinder
- Digital kitchen scale (recommended)
- 1:8 (coffee:water) ratio of freshly ground coffee, ground very coarse
Steps for success:
- Place the coarse ground coffee in the bottom of your vessel
- Ensuring you saturate all of the dry grounds, add water slowly.
- Let your slurry sit unrefrigerated for no less than 14, no more than 18 hours.
- Strain through a metal coffee filter or sieve, doing a second pass through a paper coffee filter if there is too much sediment remaining.
- Pour into a sealed container and refrigerate for up to 7 days.
- Add water or milk to dilute if that is your preference.
ENJOY!
Aeropress
Equipment needed:
- AeroPress brewer
- AeroPress filter
- Grinder
- 1 AeroPress Scoop (17g or 2 ½ Tablespoons) of coffee
- Hot water just off the boil (about 205°F)
- AeroPress paddle or spoon
- Timer
- Mug wide enough to accommodate AeroPress
Steps for success:
- Measure and grind coffee to a normal drip coffee grind.
- Place your filter in the aeropress and rinse with water.
- Affix the basket to the bottom of the AeroPress and place it on top of the mug.
- Add your coffee, start your timer and begin pouring hot water.
- Fill with hot water until you reach the number 4.
- Using your paddle, stir to saturate the grounds.
- Place the plunger on top of the AeroPress enough to create a seal, but do NOT plunge down yet.
- After 1:30, remove the plunger, stir again, and replace the plunger. This time you will begin to plunge down until you hear a hissing sound and all of the water has left the chamber.
- Remove the basket, pop out the grounds and filter into a waste/compost bin by continuing to plunge down until they release. Rinse with hot water and air dry.
ENJOY! You can add some hot water to the finished product to make more of an Americano style coffee, or use less water in the brewing process to make something more closely resembling espresso!